Let’s face it: professional manicures can be expensive and time-consuming. The good news? With a little practice and the right tools, you can create beautiful nails at home! Here’s a simple guide to help beginners get started.
Step 1: Gather Your Tools
You don’t need fancy equipment – just these basics:
- Nail clippers & file: Trim nails to your preferred length and shape them (an electric nail files can speed up your work).
- Cuticle pusher: Gently push back cuticles instead of cutting them to avoid infections.
- Base coat: This protects nails from stains and helps polish stick better.
- Nail polish: Pick beginner-friendly shades like nudes or light pinks.
- Top coat: Seals your manicure and adds shine.
- Cotton pads & nail polish remover: For cleanup.
Step 2: Prep Like a Pro
- Wash hands and remove old polish.
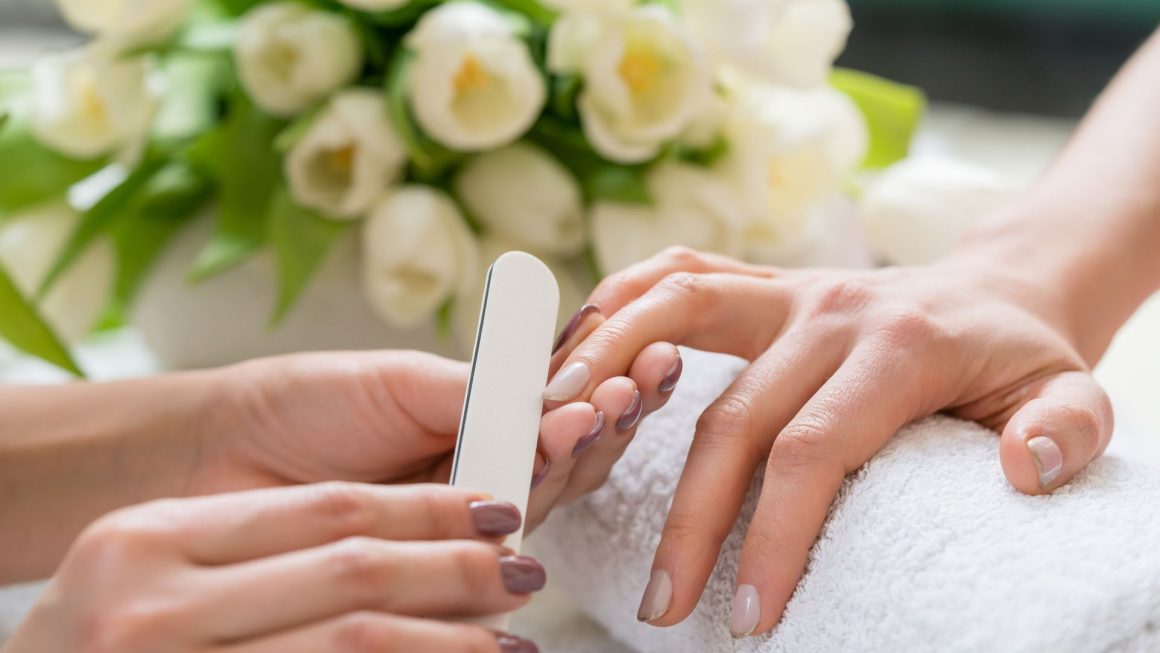
- File nails in one direction to prevent splitting – don’t “saw” back and forth!
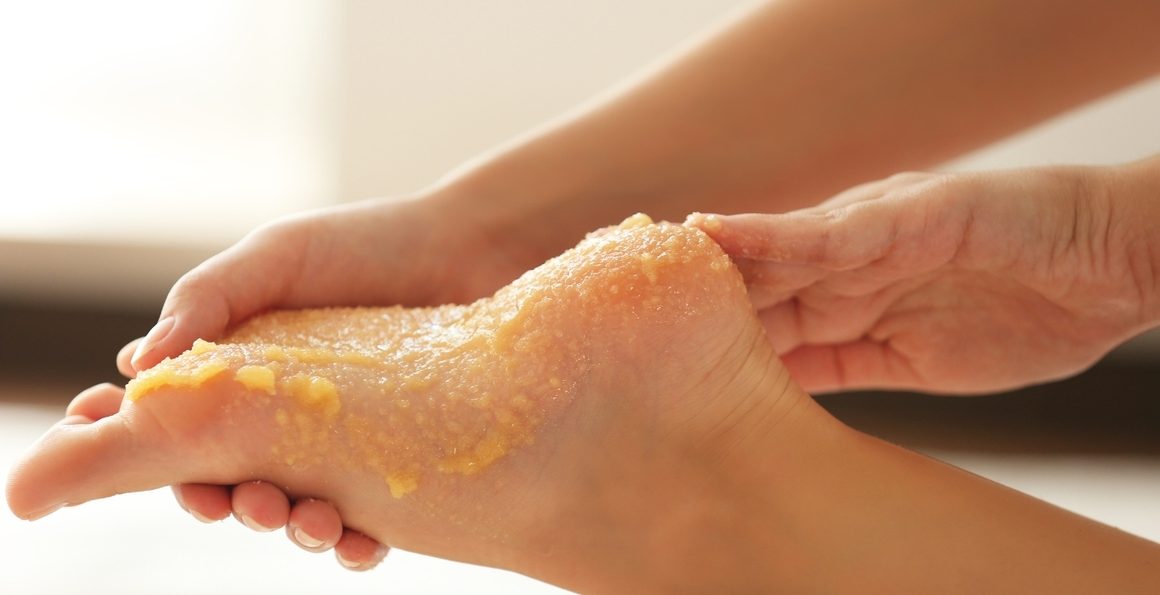
- Soak fingertips in warm water for 2 minutes to soften cuticles, then gently push them back.
- Wipe nails with alcohol or polish remover to remove oils.

Step 3: Paint Like You Mean It
- Start with a thin base coat. Let it dry for 2-3 minutes.
- Apply polish in 3 strokes: down the center, then left and right sides. Use thin layers – two coats are better than one gloopy coat! Wait 5 minutes between coats.
- Finish with top coat, covering the tips of nails to prevent chipping.
Pro Tips for Messy Hands:
- Apply lotion after painting nails to avoid greasy surfaces.
- Dip your cleanup brush in remover and erase slips around the skin.
- If you smudge a nail, let it dry completely, then gently buff the flaw and add another coat.
Making It Last Longer
- Wear gloves when washing dishes or cleaning.
- Reapply top coat every 2-3 days.
- Keep hands moisturized – dry nails chip faster.
- For stubborn glitter polish, soak cotton in remover, press on nail for 30 seconds, then wipe off.
Common Mistakes to Avoid
- Skipping the base coat: Your polish might peel or stain nails.
- Shaking the polish bottle: Roll it between palms to mix without creating bubbles.
- Rushing: Binge-watch a show while drying! Fans or cold water can speed things up.
Final Thoughts
Your first attempt might not be perfect – and that’s okay! Even smudged polish teaches you something. With time, you’ll learn how much polish to load on the brush, how to steady your hands, and which colors make you happy. Remember: Nail art stickers or simple dots with a toothpick are easy upgrades once you master the basics.
So grab your nail supplies, take a deep breath, and turn your living room into a mini nail studio. Your Instagram-worthy nails are just a few strokes away!
Read also: Why Professional Nail Technicians Rely on Electric Nail Drills?