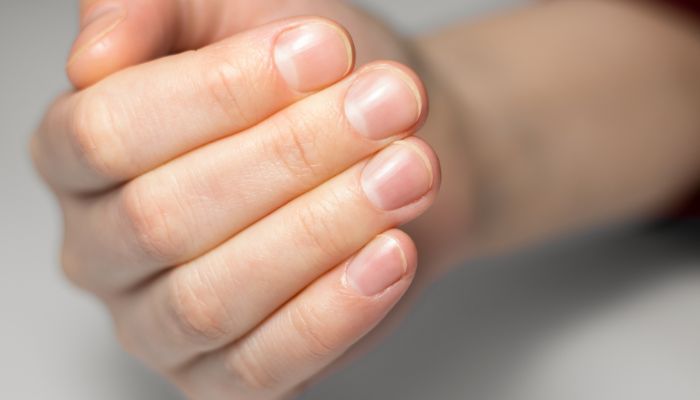
I still remember my first DIY manicure disaster.
I’d bought a cheap kit online, what a steal!—and proceeded to file my nails into ragged stumps, push my cuticles until they bled, and finally glue on a press-on nail with what turned out to be industrial-strength adhesive. My thumb was stuck to my index finger for three hours.
Turns out, having the right supplies matters. But knowing how to use them? That’s everything.
If you’re new to the world of at-home nail care, the aisle of nail supplies can feel overwhelming. Files, buffers, clippers, cuticle removers, base coats, top coats, gels, acrylics—it’s a lot. So let’s cut through the noise. Here’s what you actually need, how to use it, and what mistakes to avoid.
The Essential Nail Supplies Checklist
You don’t need a salon’s worth of products. Start with these basics:
1. Nail Clippers
The foundation of any manicure. Look for sharp stainless steel clippers with a curved blade that matches your nail shape. Avoid the tiny ones meant for children—they crush adult nails instead of cutting cleanly.
Use it right: Clip straight across to prevent ingrown nails. Don’t cut too short; leave a tiny sliver of white free edge. Clip dry nails, never after soaking (wet nails tear).
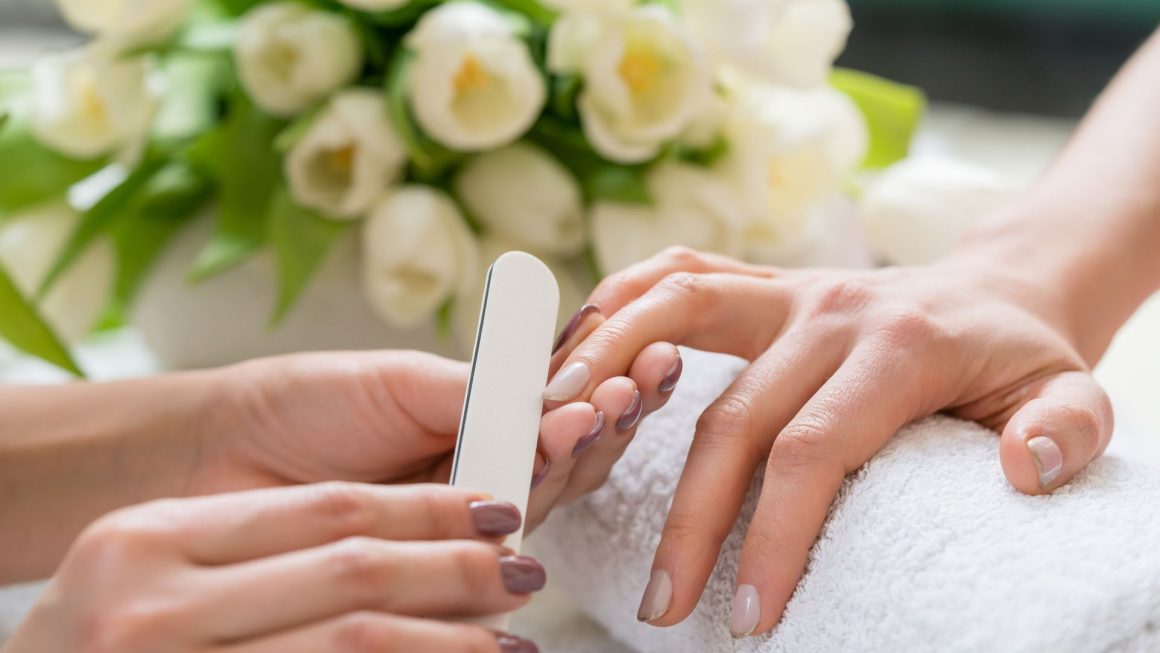
2. Nail File
A good nail file is non-negotiable. Skip the cheap emery boards that lose grit after two uses.
Use it right: File in one direction only—from the corner to the center. Sawing back and forth creates micro-fissures that lead to peeling. And never file wet nails; they’re too soft and will shred.

3. Cuticle Pusher and Nippers
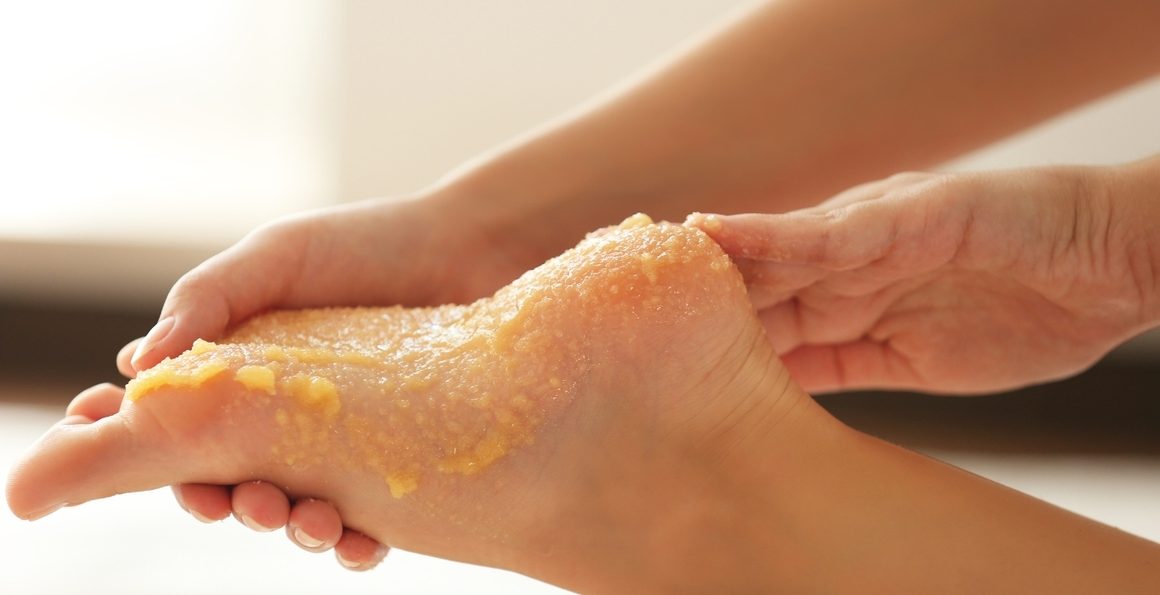
Cuticle care is where most beginners go wrong. You need a cuticle pusher (metal or wooden orangewood stick) and a pair of sharp cuticle nippers.
Use them right: After soaking your fingertips in warm water for 3-5 minutes, gently push back the softened cuticles with the pusher. Do not cut the living cuticle—that pinkish band at the base of your nail. Only use nippers to snip away loose, dead skin flaps (hangnails). If you can’t tell the difference, skip the nippers entirely.
4. Base Coat, Nail Polish, Top Coat
Even if you love bold colors, these three are the holy trinity of a lasting manicure.
- Base coat: Creates a smooth surface, prevents staining, and helps polish adhere.
- Nail polish: Choose formulas that suit you—quick-dry, gel-effect, or classic.
- Top coat: Seals everything, adds shine, and extends wear time.
Use them right: Thin layers are key. Two thin coats of color beat one thick gloppy coat every time. Cap the free edge (run the brush along the nail tip) to prevent chipping.
5. Nail Polish Remover and Cotton Pads
Acetone-free removers are gentler but slower. Acetone works fast but dries out nails and skin. For glitter or gel, you’ll need acetone.
Use it right: Soak a cotton pad, press it on the nail for 10-15 seconds, then swipe gently. Rubbing aggressively damages the nail surface.
6. UV/LED Lamp (if you use gel polish)
Gel polishes require curing under a lamp. Don’t cheap out here—a weak lamp means under-cured gel, which leads to allergies and peeling.
Use it right: Follow the manufacturer’s cure time exactly. Don’t move your fingers during curing. And never let gel touch your skin—it can cause contact dermatitis over time.
7. Nail Buffer
Optional but nice for smoothing ridges and adding shine. Use a gentle buffing block (like a 3-way buffer) and don’t overdo it.
Use it right: Light passes only. Buffing too aggressively thins the nail plate. Once a week max.

How to Choose the Right Products?
Walking into a beauty supply store can trigger decision paralysis. Here’s my shortcut:
- For tools: Stainless steel only. If it bends in your hand, put it back.
- For files: Glass files last forever and are gentle. Avoid coarse metal files for natural nails.
- For polish: Drugstore brands can be great, but look for reputable names. Read reviews for wear time and brush quality.
- For gels: Stick to professional brands (like Gelish, CND, or OPI) if you can.
- For removers: Pure acetone for stubborn polish; non-acetone for sensitive skin.
Common Mistakes Beginners Make (And How to Avoid Them)
Mistake #1: Over-filing
You want to shape your nails, not sand them down to nubs. File just enough to smooth the edge. If you see dust flying, you’re being too aggressive.
Mistake #2: Cutting cuticles
This is the #1 rookie error. Cuticles protect your nail matrix from bacteria. Cut them, and you invite infection and make them grow back thicker and tougher. Push, don’t cut.
Mistake #3: Skipping base coat
Base coat isn’t optional. Without it, dark polishes stain your nails, and all polishes peel faster. Two extra minutes saves you a week of frustration.
Mistake #4: Shaking nail polish
You’ve seen it in movies—the vigorous shake before opening. Don’t. Shaking creates bubbles that end up on your nails. Roll the bottle between your palms instead.
Mistake #5: Peeling off gel polish
I know it’s satisfying. But peeling rips off layers of your natural nail, leaving them thin and damaged. Always soak off gel properly with acetone.
Mistake #6: Using the same tools for years
Nail clippers dull. Files lose grit. Buffers wear out. Replace tools when they stop performing—usually every 6-12 months for frequently used items.
Mistake #7: Ignoring hygiene
Your tools touch your skin and nails. Bacteria and fungus love that. Clean metal tools with alcohol after each use. Don’t share with friends. And if you have a nail infection, either sterilize thoroughly or toss the tools.
The Bottom Line
Building your nail supply collection doesn’t have to be overwhelming. Start with the essentials, learn to use them correctly, and add specialty items as you go. The goal isn’t to own everything—it’s to care for your nails in a way that keeps them healthy and strong.
And remember: even the best supplies won’t fix bad technique. Take your time, watch tutorials, and practice. Your nails will thank you.
Now go forth and manicure with confidence. And maybe keep a bottle of nail glue handy—just in case.
Read also: Nail Fungus: How to Recognize, Treat, and Prevent It