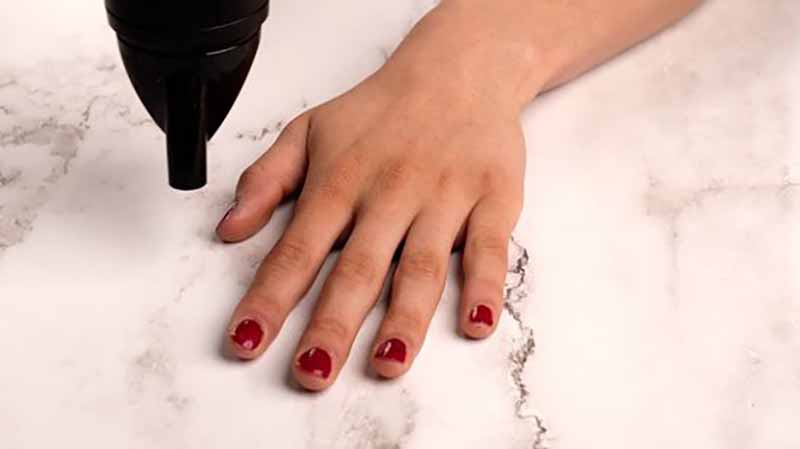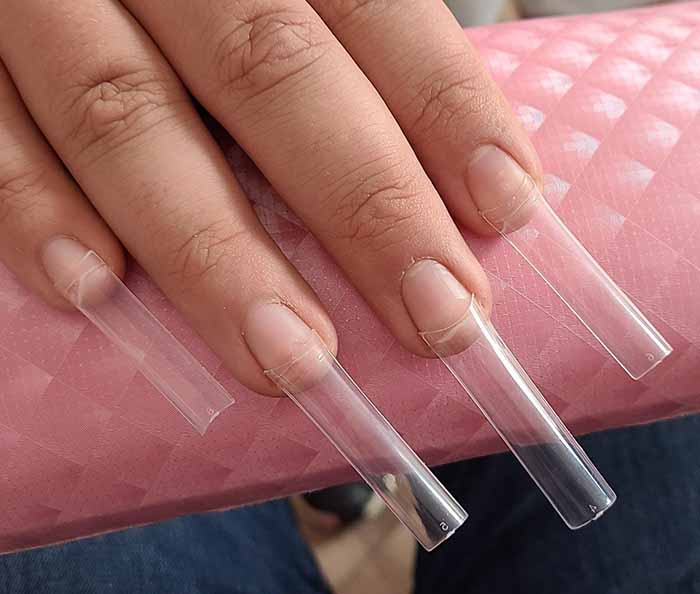
We’ve all been there: you’re finally growing your nails out, they look perfect, and then—snap. One wrong move, and you’re left with a jagged break that ruins weeks of progress. Before you grab the clippers and cut it down to the quick, know that you have options. Depending on the break and your skill level, you can repair a broken nail at home or have it professionally restored. This guide covers everything from DIY fixes to salon‑quality solutions, and how to keep your nails strong after the repair.
At‑Home Nail Repair Techniques
If the break hasn’t cut into the nail bed (the pink part of your nail), and there’s no bleeding, you can repair it at home. These methods create a temporary patch that holds the nail together until it grows out.
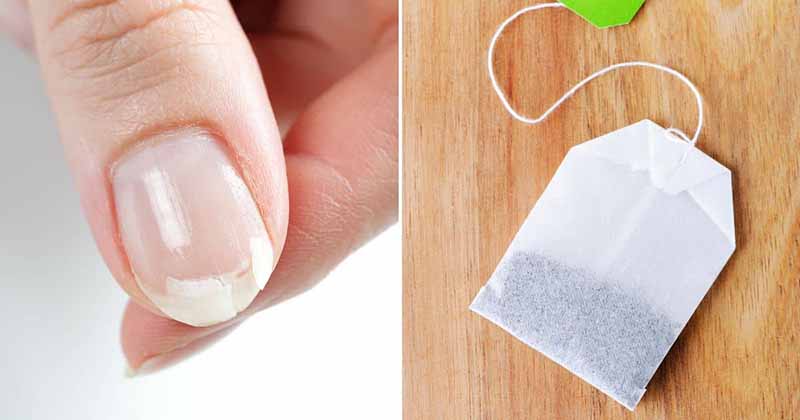
1. The Tea Bag Method (The Most Popular DIY Fix)
This is the classic, go‑to DIY solution. A tea bag’s fibrous material creates a durable, mesh‑like patch that bonds perfectly with nail glue.
What you’ll need: A used, dried tea bag, nail glue (or clear polish with strong adhesive), small scissors, a nail buffer, and a base/top coat.
Steps:
1. Clean your nail thoroughly with rubbing alcohol to remove oils.
2. Cut a small piece of the tea bag to match the size of the tear.
3. Apply a thin layer of nail glue over the cracked area.
4. Gently press the tea bag piece onto the wet glue and smooth out any wrinkles.
5. Apply another layer of glue over the patch, covering the edges.
6. Let it dry completely (it will turn clear), then gently buff the surface to smooth any bumps.
7. Apply a base coat and continue with your polish as usual. If you’re leaving it bare, apply a clear top coat for extra protection.

2. The Nail Glue (Only) Method
For very small, shallow cracks, sometimes all you need is quality nail glue.
What you’ll need: Brush‑on nail glue or a precision‑tip bottle.
Steps:
1. Clean the nail with alcohol and let it dry.
2. Apply a thin layer of glue into and over the crack.
3. Hold the broken edges together for 30–60 seconds until the glue sets.
4. Once dry, gently buff the surface smooth.
5. Apply a clear top coat to seal and strengthen.
Pro tip: For a stronger hold, apply glue, sprinkle a tiny amount of baking soda over it, then add another drop of glue. This creates an instant, hard curing agent that is extremely durable.
3. The Tissue Paper or Coffee Filter Method
This is a lighter, more flexible alternative to the tea bag.
What you’ll need: A piece of tissue paper or a coffee filter, nail glue, scissors.
Steps:
1. Cut a small piece of tissue or filter to fit the crack.
2. Apply glue to the nail and press the patch over the crack.
3. Apply a second layer of glue over the patch and let it dry.
4. Buff smooth and seal with a top coat.
This method works best for minor cracks that don’t require heavy reinforcement.

Professional Repair Techniques
For severe breaks, or if you want a seamless, long‑lasting fix, professional restoration is the way to go. These methods use stronger materials and are applied by a trained technician.
1. The Silk or Fiberglass Wrap
This is the professional version of the tea bag method. Fine silk or fiberglass mesh is applied with resin to create a durable, nearly invisible patch.
What it does: This repair strengthens the nail and prevents the crack from extending further into the nail bed. Silk wraps are thin and flexible, making them a great base for natural‑looking polish.
The process:
1. The nail is filed and cleansed.
2. A piece of silk or fiberglass is cut to fit the nail.
3. A brush‑on resin is applied over the mesh, bonding it to the nail.
4. The area is cured (often under a UV/LED lamp for certain resins) and filed smooth.
Silk wraps are ideal for natural nails and can last until the crack grows out completely.
2. Gel Reshaping
This is often the most durable repair for a long, deep break. The technician uses a builder gel (or a hard gel) to reinforce the entire nail, effectively creating a new, strong layer over the break.
What it does: Rather than just patching the crack, gel reshaping covers the entire nail plate, adding structural integrity. The gel is brushed on, shaped, and cured under a UV/LED lamp, creating a hard, flexible shell.
The process:
1. The nail is gently filed and the surface is cleansed.
2. A thin layer of primer or base gel is applied.
3. Builder gel is sculpted over the nail to create a new apex.
4. The nail is cured, then filed and buffed to a perfect shape and shine.
Gel reshaping is great for any nail shape and is highly durable. With proper care, it can last for weeks.
3. Professional Nail Glue and Powder
A variation of the glue and baking soda hack, professionals often use acrylic powder with glue to create an instant, hardened patch.
The process:
1. The crack is cleaned and glue is applied.
2. Before the glue dries, a small amount of acrylic powder is sprinkled over it.
3. The mixture hardens instantly into a solid, strong patch.
4. The area is filed flush with the nail surface.
This is a quick, powerful fix for severe breaks that would otherwise require cutting the nail down completely.
Post‑Repair Care and Prevention
Once your nail is repaired, the goal is to keep it healthy and prevent the same break from happening again.
Good Daily Habits
- Keep nails at a manageable length. Long nails look beautiful, but they also create more leverage, which increases the risk of breakage.
- File regularly. Keep the edges smooth so they don’t snag. Use a fine nail file and file in one direction only.
- Wear gloves for chores. Dishwashing, cleaning, and gardening expose nails to water and harsh chemicals, which weaken the nail plate.
- Never use your nails as tools. No opening cans, peeling stickers, or scraping with your nails.
Strengthening Care
- Apply cuticle oil daily. Hydration is key. Jojoba and vitamin E oils keep nails and cuticles flexible, preventing cracks.
- Use a nail strengthener. If you’re prone to breaks, apply a strengthening base coat regularly. Many are water‑based and can be applied before polish.
- Give your nails a break. If you wear gels or acrylics continuously, they can weaken the natural nail. Take a week off every few months to let them breathe and recover.
Polishing and Protection
- Apply a layer of clear polish even when bare. A simple clear top coat adds a protective layer.
- Coat the free edge (the tip). Running your brush along the nail tip seals the edge and prevents water from seeping underneath.
The Bottom Line
A broken nail is frustrating, but it doesn’t have to ruin your manicure. A tea bag patch can hold the nail together long enough for it to grow out. If the break is deeper, a silk wrap or builder gel repair can restore the structure and give you a seamless finish. And with consistent aftercare—moisturizing, gentle filing, and protective gloves—you can prevent most future breaks. Your nails are resilient; treat them with the right care, and they’ll reward you with strength and beauty.
Read also: The Guide to Nail Tips: Shapes, Sizing, Application, and Safe Removal