Nail tips are a fantastic way to add length, strength, and a flawless shape to your nails. However, achieving a natural, long-lasting, and professional finish requires more than just sticking them on. From choosing the right shape to mastering the removal process, this guide covers everything you need to know.
Different Shapes and Styles of Nail Tips
Choosing the right nail tip shape is the first step toward a perfect manicure. Here are the most common styles and their characteristics:
- Round: Gently curved at the tip, mimicking the natural shape of your fingertips. Round tips are low-maintenance, classic, and very durable, making them excellent for short nails or those who work with their hands. They also help make fingers appear longer.
- Oval: Rounded tip with a soft taper. Oval tips provide a graceful, elongated appearance and are great for those with short fingers or wide nail beds, as they visually lengthen and slim the hands.
- Square: Straight-filed sides with a blunt, flat tip. This bold, modern shape provides clean, geometric lines and is ideal for those with long, narrow nail beds. However, the sharp corners can be prone to snagging or chipping.
- Squoval (Square Oval): The perfect compromise, combining the straight sides of a square with the soft, rounded edges of an oval. This shape is universally flattering, comfortable, and very durable, making it a top recommendation for most people.
- Almond: Tapered to a soft, rounded point, resembling an almond. Almond tips are very feminine, graceful, and chic, as they beautifully elongate the fingers.
- Coffin (Ballerina): Similar to stiletto but with a squared-off tip, resembling a coffin or a ballerina’s shoe. This shape is sleek, dramatic, and fashionable, but is best suited for longer fingers and requires strong materials to support the length.
- Stiletto: Long and sharply pointed. This is the most dramatic and fashion-forward shape but is fragile and not practical for everyday wear or those with active lifestyles.
How to Choose the Right Length and Shape for Your Hands
Finding your perfect nail tip shape is about more than just following trends; it’s about complementing your natural anatomy and lifestyle.
Consider your natural nail bed. For shorter nail beds, square or round best fit without having to add too much length. Those with longer nail beds are able to get away with shapes like coffin and almond”.
Consider your finger shape. For short fingers, opt for round, oval, or almond shapes, as these create the illusion of length and avoid making your hands look stubby. For long, slender fingers, you can wear most shapes, with coffin or stiletto shapes accentuating the length of your hands.
Consider your nail bed width. Round and oval shapes can help slenderise wide nail beds, while square or squoval shapes can add width and balance to narrow nail beds.
Consider your lifestyle. If you have an active lifestyle or work with your hands, avoid long, pointy shapes and stick to shorter lengths with a rounded or squoval shape, as they’re less likely to chip, snag, or break.
How to Apply Nail Tips Correctly
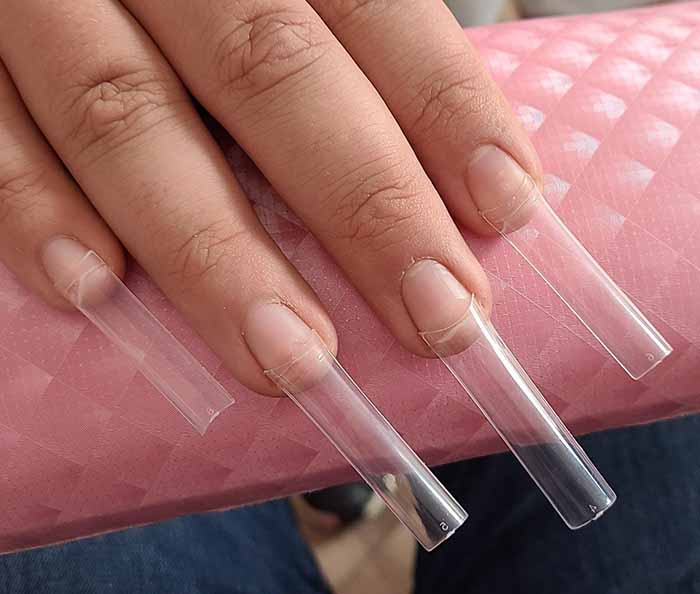
A correct fit is the most important factor for longevity and comfort. A common rule in the industry is: when you’re between sizes, always size up. You can always file a larger tip to fit, but you can’t stretch a smaller one.
Step 1: Assess and Size Your Tips
Before applying any glue, perform a dry run. Press the tip to your nail (without glue) and look at it from all angles. A properly sized tip will sit sidewall-to-sidewall without forcing the natural nail to change shape. The tip should not “spring” off or pinch the sides of your nail. A correctly sized tip sits sidewall-to-sidewall with no gaps, aligning with the nail’s natural edges.
If the tip is too small, it will pinch the nail plate and cause pressure points, leading to lifting, discomfort, or even cracks. If you’re between sizes, it’s always safer to size up and then refine the side edges with a nail file rather than forcing a smaller tip to stretch.
Step 2: Prepare Your Natural Nails
Clean, dehydrated nails are the secret to a long-lasting application. Thoroughly wash your hands to remove any oils or lotions. Gently push back your cuticles and lightly buff the natural nail to remove shine, which gives the adhesive a better surface to grip.
Step 3: Apply the Tips
Place a small amount of nail glue on the natural nail (or the “well” of the tip, depending on the type). Press the tip onto your nail, starting at a 45-degree angle near the free edge and then rolling it down flat toward the cuticle. This motion helps prevent air bubbles. Hold firmly for 15–30 seconds.
Step 4: Blend and Refine
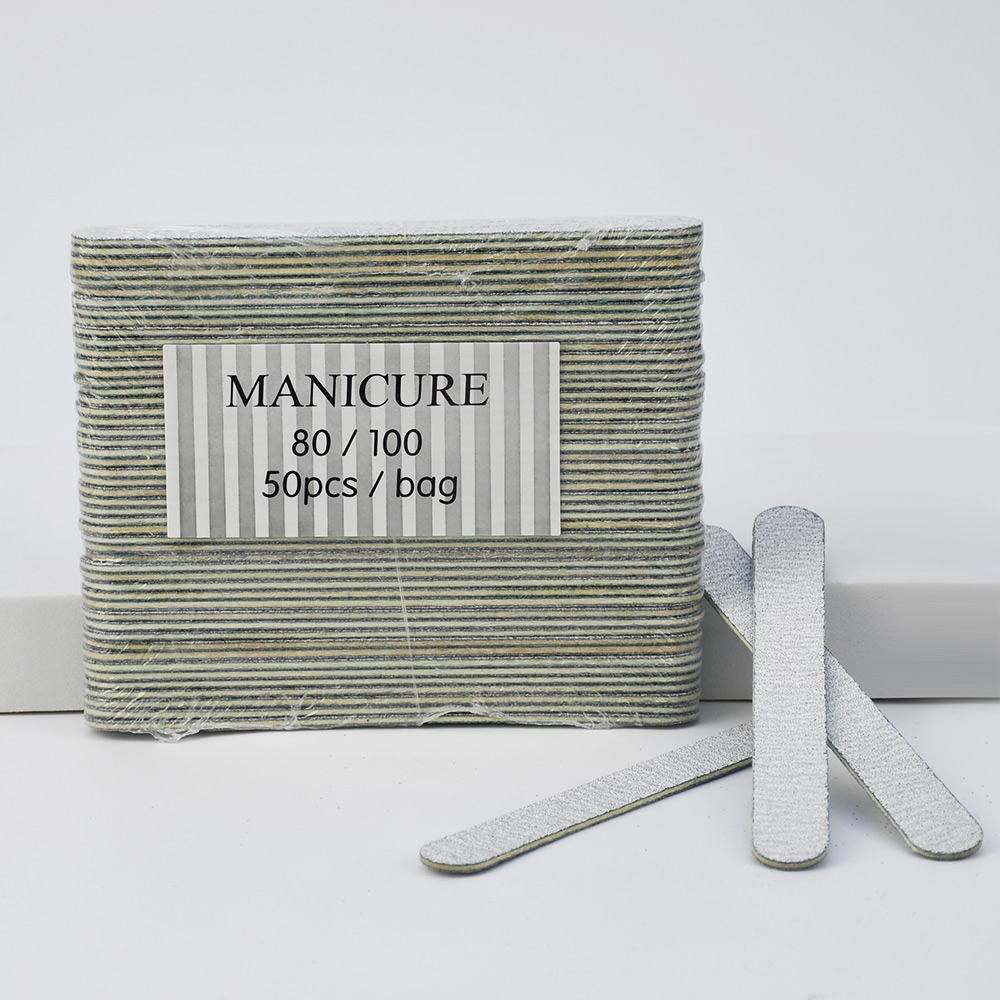
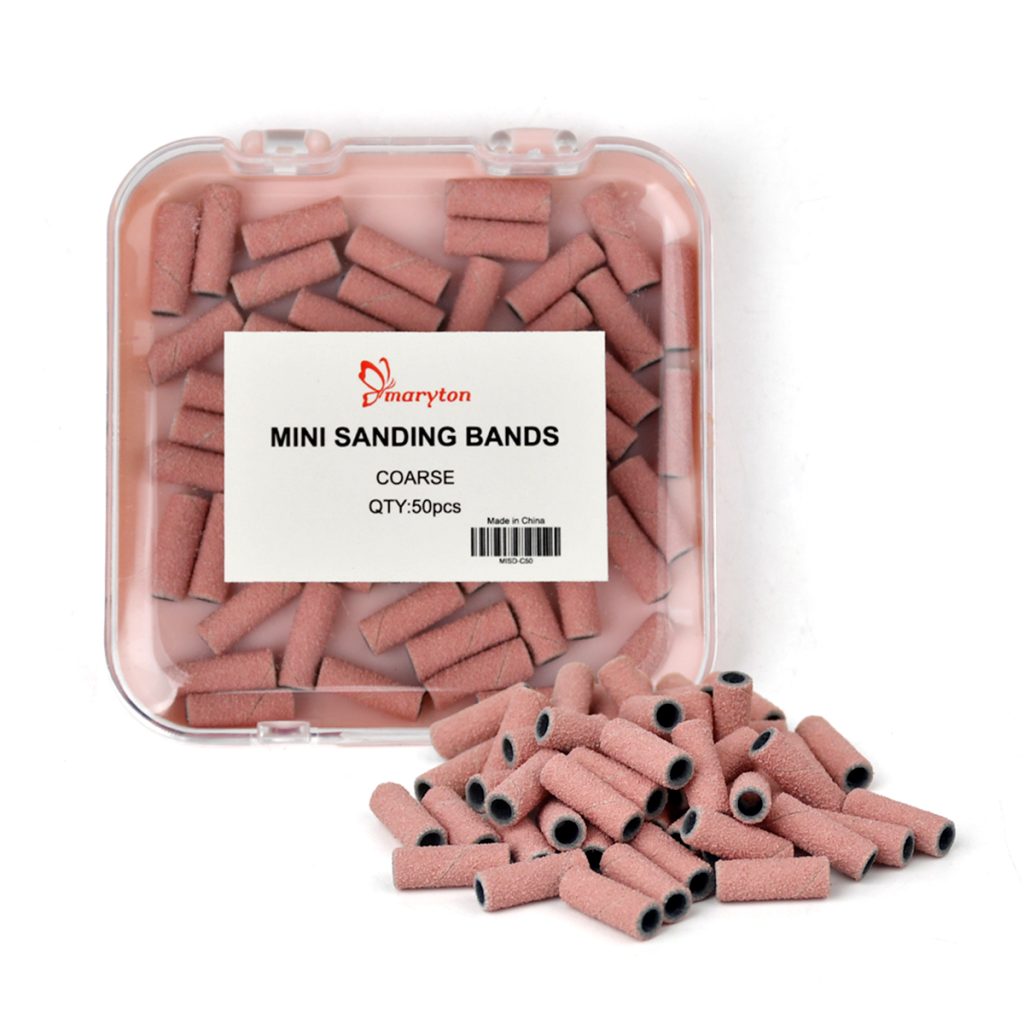
For a seamless transition, the “ledge” where the tip meets your natural nail must be blended. Use a sanding band (a cylindrical abrasive sleeve on an e-file mandrel) to gently buff and smooth the entire nail, blending the tip into the natural plate until there is no visible ridge.
How to Safely Remove Nail Tips Without Damaging Your Natural Nails
Removing nail tips is a process that requires patience. Avoid the temptation to rip or pry them off. This is the single most damaging thing you can do to your natural nails.
- The Acetone Soak-Off Method (Recommended for Soft Gels and Some Adhesives): File the shiny top coat off the nail tip to break the seal. Saturate a cotton ball with 100% pure acetone and place it on the nail. Wrap the fingertip tightly with a small square of aluminum foil to hold the cotton in place. Let your fingers soak for 10–15 minutes. After soaking, the product should have softened. Use a wooden cuticle stick to gently push the softened tip and residue off the nail.
- The Filing Method (Hard Gels or Thick Acrylics): Use an e-file with a coarse carbide or ceramic bit to file down the bulk of the tip. As you get closer to your natural nail, switch to a fine-grit sanding band to refine the surface. Stop filing when you see a very thin, translucent layer of product left on the nail. Never file down to the bare natural nail plate. This thin layer of base product acts as a shield and can be left on or lightly buffed off.
After removal, always wash your hands, then massage cuticle oil and a rich hand cream into your nails and skin. This rehydrates the natural nail bed after the drying effects of the glue and acetone.
Nail tips are a fantastic beauty tool, and with a bit of knowledge and practice, they can help you achieve the beautiful, long-lasting, and perfectly shaped nails you’ve always wanted.
Read also: The Beginner’s Guide to Nail Supplies: What You Actually Need and How to Use It